When I started my RV journey in Bessie, my 25-foot Forest River Sunseeker, I didn’t know much about water filtration. Like most beginners, I grabbed a Camco disposable filter off the shelf and called it good. At the time, I figured if it was in every RV aisle across America, it must be what everyone used. But as the miles rolled on and my rigs evolved—from Bessie to Bertha, and now Bertie Bea—I began to realize that not all water filters are created equal.
And let me tell you, after five years of life on the road, I finally found the system that made me comfortable drinking water straight from Bertie Bea’s faucets: the GoBluTech AR3 ELITE Bundle, complete with a 3-stage filtration system, a built-in water softener, three stainless steel quick-connect hoses, and the filters pre-installed. It’s the setup I wish I’d had from the start—and it’s why I’m sharing my journey, so you don’t have to learn the hard way.
The Basics: Types of RV Water Filters
Before we dive into why I chose GoBluTech, let’s take a quick tour of the common RV water filter options:
1. Inline Disposable Filters

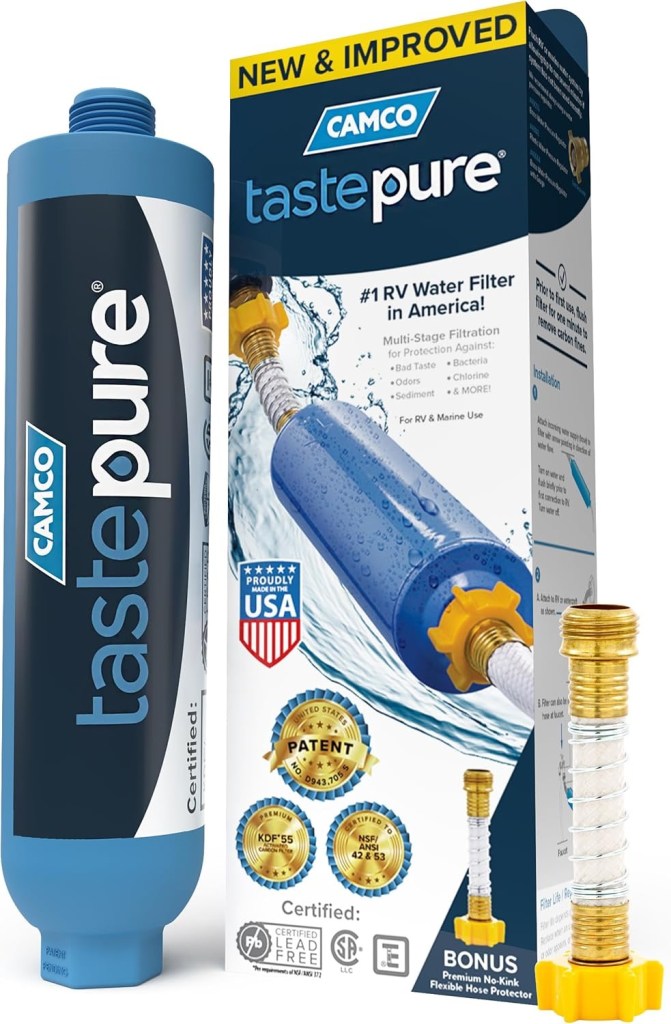
Example: Camco RV & Marine Disposable Water Filter w/ Hose Protector
These are the “starter filters” you’ll find in nearly every RV supply store. They attach easily to the hose and offer basic sediment and carbon filtering. They’re inexpensive and disposable—but they’re also limited in effectiveness.
- Pros: Cheap, easy to install, low maintenance.
- Cons: Minimal filtration, no protection against bacteria or heavy metals, no water softening.
My Take: This was my first filter with Bessie, and while it got the job done, I never felt great about drinking from the tap.
2. Canister-Style External Filters

Example: Camco EVO Premium Water Filter
Used With: Bertha (my second RV)
These filters use replaceable cartridges and typically mount externally. They do a better job at removing chlorine, sediment, and some taste/odor issues.
- Pros: Better filtration than inline, affordable, multiple cartridge options.
- Cons: Still external, single-stage, no softening or advanced purification.
My Take: It was a step up from the disposable, but I still relied on bottled water for drinking. It didn’t solve hard water or dry skin issues either.
3. Triple Canister Systems
Example: Clear Source Mini Triple External Water Filter

Used With: Bertie Bea, until June 2025
Triple canister systems improve on filtration with multi-stage sediment, carbon block, and/or virus filters. They provide much cleaner water, but often lack a softener.
- Pros: Great for removing contaminants, long filter life, serious improvement in taste and clarity.
- Cons: External setup, no softening, bulkier, and still some complexity in setup.
My Take: This was the first time I noticed a real difference in water taste and clarity, but it didn’t address hard water. I still had issues with dry skin and buildup on fixtures.
Why I Switched to GoBluTech AR3 ELITE
In June 2025, during the Tiffin Allegro Club “Riding the Range” Rally, I stopped by the TechnoRV booth and struck up a conversation. That conversation led me to the GoBluTech AR3 ELITE Bundle—and I’ve never looked back.
🔗 Check it out here via my TechnoRV affiliate link
Here’s why it stands head and shoulders above every filter system I’ve used:
✅ True 3-Stage Filtration

- Sediment Filter: Catches rust, dirt, and other particles.
- Carbon Block Filter: Removes chlorine, VOCs, taste, and odor.
- Nano Filter: Captures bacteria, cysts, heavy metals, and viruses.
This isn’t just about clear water—it’s about safe water.
✅ Built-in Water Softener

This feature is an absolute game-changer. Not only does it protect my plumbing and appliances, but it’s also drastically reduced my dry skin problems on the road. My water finally feels soft, and I can tell the difference in everything from showers to coffee.
✅ High-Quality Components

- Stainless Steel Quick Connects – Leak-proof and easy to set up.
- Braided Stainless Steel Hoses – Durable and built for the road.
- All Filters Pre-Installed – No hassle when setting it up.

TechnoRV made the install process incredibly smooth, and I had it up and running within minutes of parking.
✅ Peace of Mind
Since installing the GoBluTech system, I don’t even question if I should drink the water anymore. I fill up my bottle straight from the faucet in Bertie Bea. It tastes better than bottled water, and I know it’s clean and safe.
That peace of mind is priceless.
Final Thoughts: Why It Matters
Clean, safe water on the road isn’t just a luxury—it’s a necessity. Whether you’re a weekend warrior or a full-time RVer like me, your water system is one of the most important upgrades you can make.
I’ve been through the ranks—from disposable filters to canister systems—and the GoBluTech AR3 ELITE Bundle is the system I trust with my health, my comfort, and my rig.
If you’re ready to make the switch, grab it from TechnoRV here:
👉 https://technorv.com/collections/goblutech?Click=12127
Your skin, your plumbing, and your taste buds will thank you.
Bonus Tip:
Pair your filter system with a stainless steel hose shark, quick connects, and a solid pressure regulator. You’ll be fully protected from campground surprises and on your way to the best water you’ve ever had on the road.


